Designing Tennis Players
Prerequisites
Install Blender
- Download Blender from blender.org
- Install the latest stable version (4.0 or newer recommended)
- Launch Blender and complete the initial setup
Setup MPFB
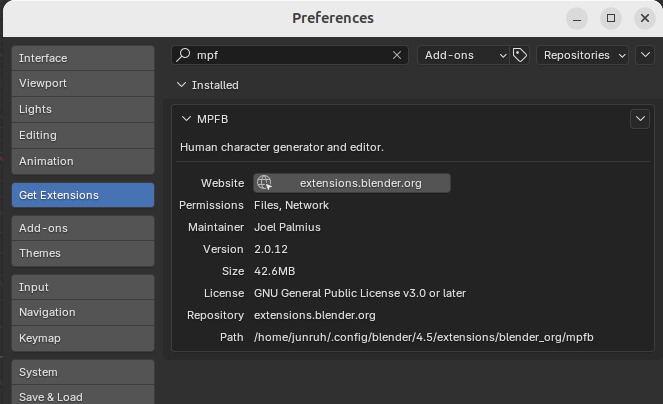
1. Install MPFB Extension
- Open Blender
- Go to Edit > Preferences > Extensions
- Search for “MPFB”
- Click the result and select Install
- Enable the extension after installation
2. Install System Assets
- Download the system assets ZIP file from: https://files2.makehumancommunity.org/asset_packs/makehuman_system_assets/makehuman_system_assets_cc0.zip
- In Blender, open the MPFB panel (usually on the right sidebar)
- Navigate to Settings > Assets
- Point to the downloaded ZIP file directly (no need to extract)
- Wait for assets to load (this may take a moment)
Creating a Tennis Player
1. Start with Base Model
- Download base_player.blend from the pelota-files repository
- Open the file in Blender
- Select the human model in the scene
2. Customize the Body
- Open the MPFB panel on the right sidebar
- Go to the Model tab
- Adjust features like:
- Body shape (height, weight, muscle tone)
- Face (eyes, nose, mouth, etc.)
- Skin tone and details
- Preview changes in real-time

3. Add Clothing
- In the MPFB panel, navigate to Apply Assets
- Browse available clothing categories (shirts, shorts, shoes, etc.)
- Select items to add to your player
- Adjust colors and materials as needed
4. Submit Your Design
- Create a pull request to the pelota-files repository
- Include your player blend file with clear naming
- Describe the player design in the PR
For advanced customization and features, refer to the MPFB documentation.